Generated AI image by Microsoft Bing Image Creator
In the early days of my software development career, I relied on Heroku to host all of my personal apps without incurring any costs. However, over the years, Heroku has gradually shifted from a free model to a subscription-based service. As a software developer, I’m always on the lookout for platforms that offer better performance, scalability, and ease of use for hosting my applications while continuing to manage my projects on budget. After careful consideration and evaluation, I’ve decided to migrate all of my personal apps from Heroku to Render. In this guide, I’ll walk you through the migration process and explain the reasons behind my decision.
Why Migrate to Render?
1. Simplicity and Ease of Use
Render offers a streamlined and intuitive platform for deploying and managing applications. Its simple interface and straightforward setup make it easy for developers to get up and running quickly without the complexity of managing infrastructure.
2. Automatic Scaling and High Availability
Render automatically scales applications based on traffic patterns, ensuring optimal performance and reliability without manual intervention. With built-in redundancy and failover mechanisms, Render provides high availability and uptime guarantees, even during peak traffic.
3. Transparent Pricing
Render’s transparent pricing model provides predictable and affordable pricing for hosting applications. With no hidden fees or complex pricing tiers, I have full visibility into my hosting costs, allowing me to budget effectively and avoid unexpected charges.
4. Seamless Integration with Modern Technologies
Like Heroku, Render supports a wide range of programming languages, frameworks, and databases, making it easy to deploy applications built with modern technologies. Whether I’m working with Node.js, Python, Ruby, Go, or Docker containers, Render has me covered.
5. Excellent Documentation and Support
Render offers comprehensive documentation and responsive support to assist developers at every stage of the deployment process. From getting started guides to troubleshooting tips, Render’s support resources are invaluable for ensuring a smooth migration experience.
Migration Guide
1. Create a Render Account
- Firstly, visit the Render website and sign up for a free account.
- Verify your email address and complete the account setup process.
2. Import Your Applications
- Secondly, navigate to the Render dashboard and click on the “Create New” button.
- Select the type of application you want to deploy (e.g., Web Service, Static Site, Docker Service) and follow the prompts to import your codebase.
For my case, I had about 8 personal projects to migrate, 6 are static site (written in Javascript/React plus my tech blog written in Hexo framework and my web portfolio powered by Pug/CSS/Javascript), one Ruby on Rails API service and one NodeJS smtp service. Prior to the writing this, I found that I had to learn this concept from Render.com documentation pages about BluePrint yaml files. Fundamentally, they are just your IaC much akin similar to Ansible, AWS Cloudformation, Chef, Terraform etc, but are more simpler and easier to construct without having to memorise several configuration parameters at great length. See the upcoming notes on point 3.
3. Configure Your Environment
- Customize your deployment settings, including environment variables, build commands, and routing rules, to match your application’s requirements.
- Take advantage of Render’s integrations with GitHub, GitLab, and Bitbucket for seamless CI/CD workflows.
As mentioned from point 2, to migrate Ruby on Rails API service as a web service for eg, I had to setup configure its Blueprint yaml config file. It’s usually comes as render.yaml by default (see below).
services:
  - name: post-it-notes-board-api
    type: web
    env: ruby
    buildCommand: bin/render-build.sh
    startCommand: bundle exec puma -C config/puma.rb
    envVars:
      - key: SECRET_KEY_BASE
        generateValue: true
      - key: DATABASE_URL
        fromDatabase:
          name: post-it-notes-board-db
          property: connectionString
      - key: REDIS_URL # this must match the name of the environment variable used in production.rb
        fromService:
          type: redis
          name: post-it-notes-board-api-redis
          property: connectionString
  - name: post-it-notes-board-api-redis
    type: redis
    ipAllowList: [] # only allow connections from services in this Render accoun
    maxmemoryPolicy: allkeys-lfu
databases:
  - name: post-it-notes-board-db
    ipAllowList: [] # only allow connections from services in this Render account
I needed the Blueprint yaml file for this web service is because I knew my RAILS API service would be interconnected with Redis as well as Postgres DB services in order to be fully functional full stack API app.
Looking at the YAML file content above, I found this is actually far more simplistic and incredibly easy to comprehend in setting up compared to working with AWS Cloudformation I had for years where you are obliged to know all nooks and cranies IaC’s parameters to setup your own infrastructure at such length. But with this, I only need to know few basic IaC Render provides you and that’s suffice enough to get your app hosted and up running with very minimal development.
For more info, on how to interpret and setup this yaml file, look up this page to understand more - https://docs.render.com/blueprint-spec
4. Deploy Your Applications
- Trigger a deployment of your applications by pushing your code to the Render Git repository or using the Render CLI.
- Monitor the deployment process in the Render dashboard and review the deployment logs for any errors or warnings.

My list of personal apps hosted at Render
5. Test and Verify
- Once your applications are deployed, test them thoroughly to ensure that they’re functioning correctly on Render’s platform.
- Use Render’s built-in monitoring and logging features to track performance metrics and diagnose any issues that arise.
6. Update DNS Records
- If you’re using a custom domain with Heroku, update your DNS records to point to Render’s servers to ensure that traffic is directed to your new deployments.
- Follow Render’s documentation for detailed instructions on updating DNS records for your domain provider.
Fortunately, for my case, I don’t have that many to begin with so the DNS record transitioning was super breezy when following this link to configure Namecheap DNS hosting.
7. Monitor and Optimize
- Continuously monitor your applications’ performance and resource usage on Render to identify areas for optimization and improvement.
- Take advantage of Render’s scaling and caching features to optimize performance and reduce costs over time.
That’s pretty much it!
With all that said and done, why not considering popular cloud choices like AWS, Azure, etc?
That’s a fair question.
I had originally put some hard thought into this.. But honestly speaking, using my extensive experience in building software solutions with major cloud provider players out there is not going to be the best use case for it just simply because the inherent complex features of it do not hugely outweigh the benefits for my small to medium-sized apps where they don’t require high end capability of scalabitity and function customizations etc. AWS, Azure etc are good for building enterprise-grade applications by default, especially if you know your application scalability needs upfront already. And I mentioned earlier that I want to have my apps running in the cloud with manageable shoetring or free budget to maintain the cost as the primary goal, Render would be perfect choice for it. I can always migrate them to AWS if I do decided to level up their scalablity once I do gain some traction for these.
Conclusion
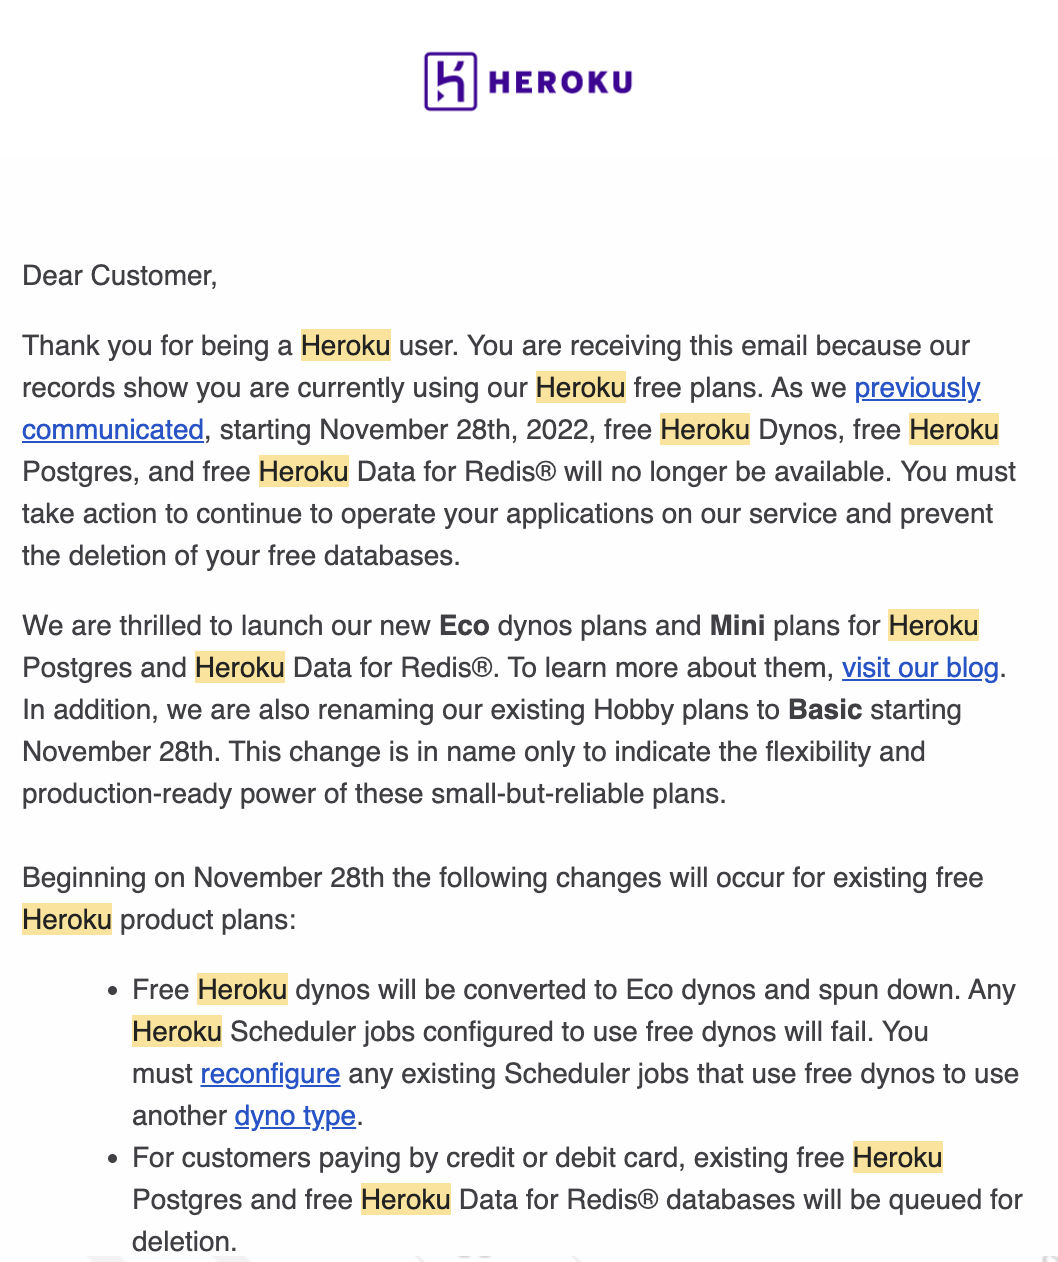
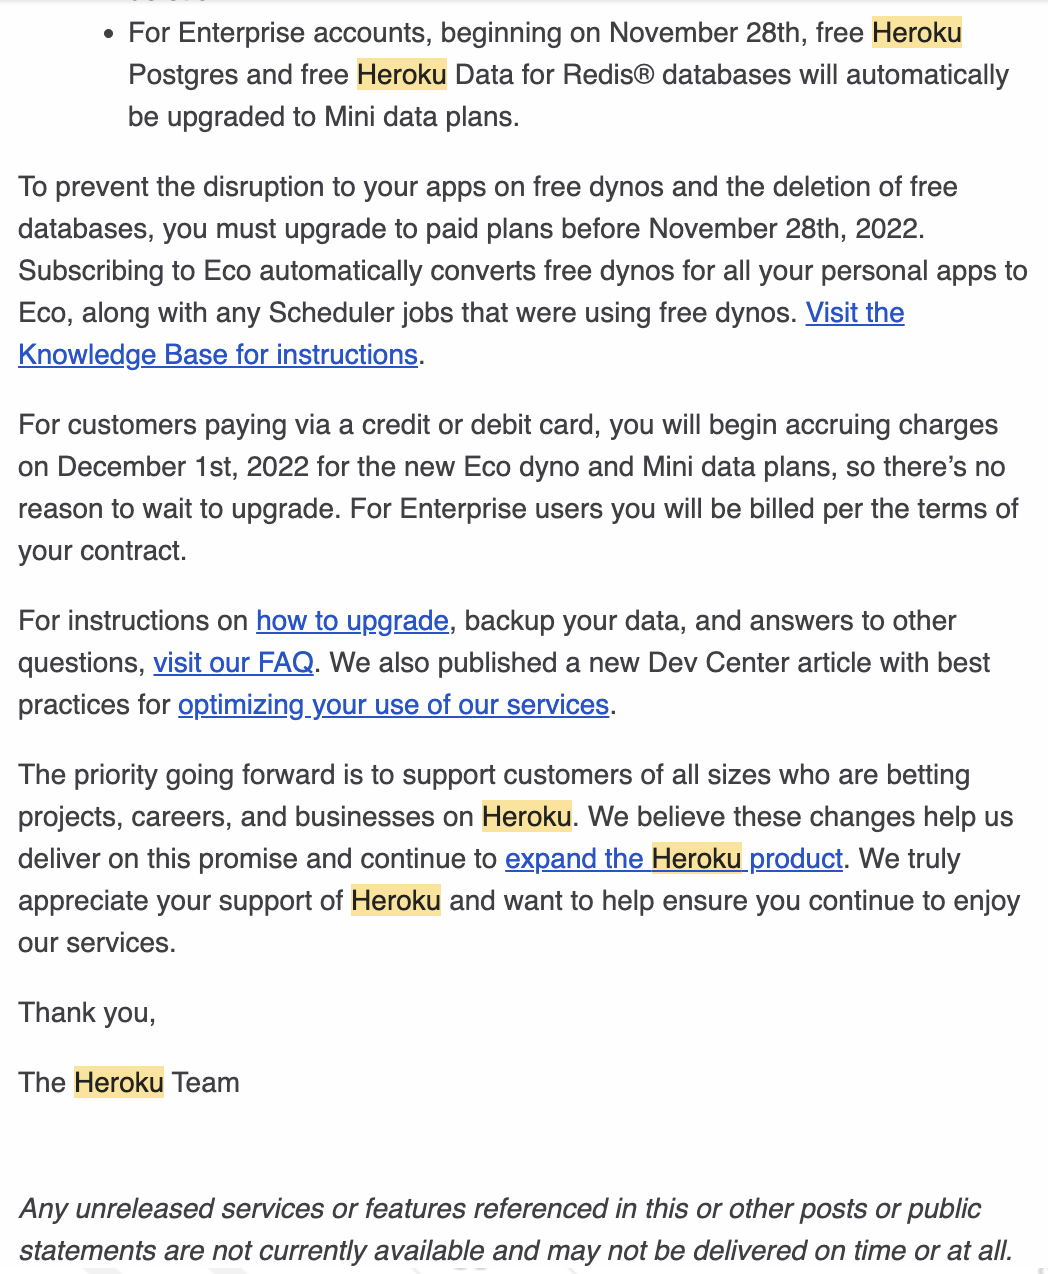
Migrating my personal apps from Heroku to Render was not only a strategic decision, but also an personal one based on the platform’s superior performance, scalability, and ease of use. As much as I’d love Heroku for all the important things I wanted to do in making my hobbyist projects fun to begin with, I’ve come to a point where I have to say my difficult goodbyes to it after receiving this email newsletter from Heroku less than 2 year ago..

Letter Notification to end Heroku free plans - Part 1

Letter Notification to end Heroku free plans - Part 2
Upon reading this newsletter, I went further to discover the true reason behind their tough decision to discontinue their free plan here, I can start to empathise them to chose putting the nail to the free-plan coffin.
With Render, I have confidence that my applications will remain highly available, performant, and cost-effective, allowing me to focus on building and improving my software projects.
If you’re considering migrating your applications to Render, I highly recommend taking the leap. With Render’s powerful platform and comprehensive support, you’ll be well-equipped to take your applications to the next level before I say my parting farewells to Heroku after staying with them close to 8 years before their discontinued free-plan was announced. Thanks for the fun memories. 🥲🥲
Till then, Happy coding on Render!
PS: On one slight note, after migrating my RAILS API app to Render, I learned Render had 30-day limit expiry when running free PostgresSQL DB service ie post-it-notes-board-db once deployed. Once 30 day limit is up, you need to upgrade DB service from Free tier to Starter tier package where I will be billed around $7USD/month for running DB service. Since I wasn’t keen to make the commitment to sign this up immediately after slowly all of my apps to Render free tier option already, I decided to opt DB service out of Render and configure DB service elsewhere using Supabase when reading this guide. After creating my SupaBase account, the setup was incrediby straighforward. I just need to configure DATABASE_URLenv var to point to an actual Supabase PostgresDb instance and I can run db rails migrate commands to seed data on that DB service as if it was my own local db service! The DB transitioning was also incredibly painless! You should definitely checkout Supabase as well. It’s build for small hobbyist projects for small budget in mind.